- /
- /
- /
Getting started with DMS-Shuttle
The DMS-Shuttle tool can be useful in different ways. It includes features that can be used for both SharePoint Migration and SharePoint Content Management.
How to start:
- Download our latest release
- Install the tool on your system
- Start the tool (it will run as a trial version) and create a connection to your SharePoint Site
- Test the tool in your environment (move data between SharePoint and file shares, generate reports, run bulk operations…)
Brief overview of the most important functions:
SharePoint Migration Features:
- Upload files from local system to SharePoint / OneDrive
- Replace invalid characters
- Set original last modified date
- Configurable behavior for incremental migration (possible options: “never overwrite an existing file”, “overwrite only if the source file is newer” and “always overwrite an existing file”)
- Download files from SharePoint / OneDrive to local system
- Download particular files or folders
- Move the entire Document Library or Site Collection to your file share
- Copy all versions of a SharePoint document at once (configurable filename schema for different version files)
SharePoint Content Management Features:
- Bulk Operations
- Bulk check-in (check in multiple SharePoint files inside a folder structure, a library or site at once)
- Clean up version history (free up space in a folder, in a Document Library, in a Site or in the entire Site Collection)
- Bulk edit metadata
- Built-in Reports
- Generate an Excel Report of all files inside a selected structure (folder, library or site)
- Export list of checked out files (export a list of all checked out files in your Document Library or SharePoint Site)
- Export Document Library with Metadata to Excel
- Versioning
- Show version history of files
- Check-in / check-out files
- Create, delete or restore versions
Additional Usability Features:
- Intuitive User Interface
- Settings Wizard for major setting options
- Connection Manager (allows the user to handle multiple connection profiles, e.g. for different SharePoint tenants)
- Drag & drop data between local system and SharePoint, keyboard shortcuts for the main operations
- Session Log View
- Log files (changing the log level in the GUI)
How to install DMS-Shuttle
1. Download DMS-Shuttle ZIP installer
Download the last release of DMS-Shuttle to your system (ZIP file: DMS-Shuttle-1.4.0.xxx.zip). Extract this ZIP file to your file system (ZIP contains 2 files: setup.exe and DMS-Shuttle-Setup.msi). Run setup.exe file to install.
2. Install DMS-Shuttle
DMS-Shuttle can be installed on every Windows computer that has internet access (for connecting SharePoint Online / Office 365) or access to your company network (for connecting SharePoint on-premises). No server side installation is needed.
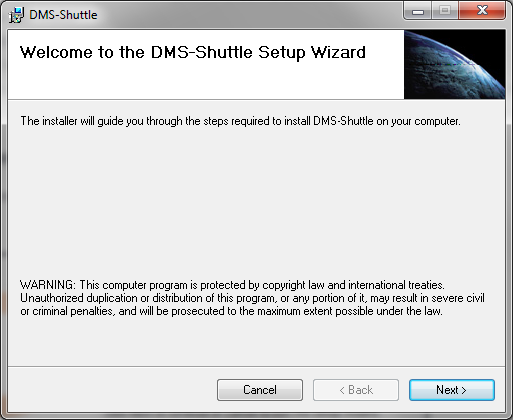
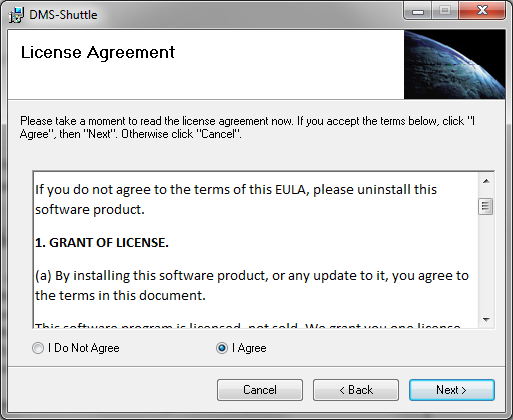
Installation Steps:
Launch the Setup Installer (setup.exe).
Read and accept the terms in the End User License Agreement.
Select the Installation folder (or keep the default installation location)
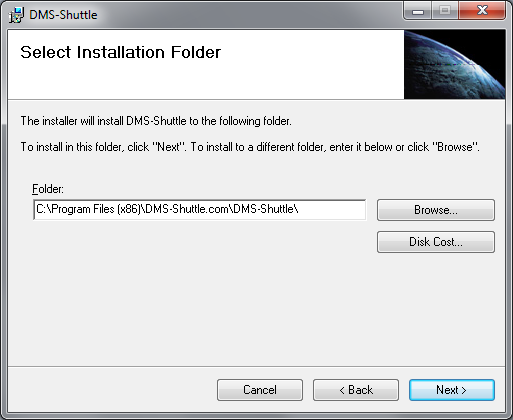
Click “Next” button
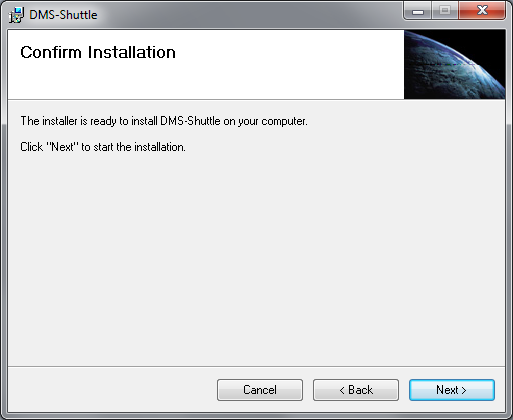
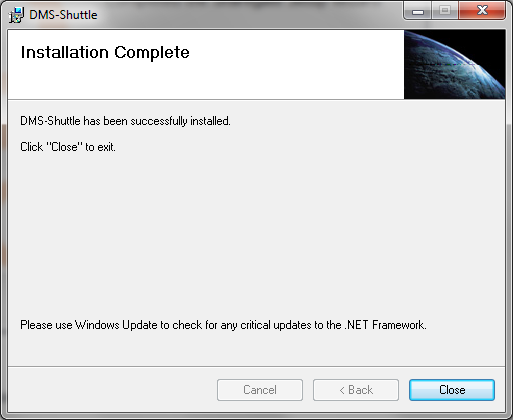
Wait for the installation process to complete. Then you can close the dialog and launch the tool.
You will then have 15 days to try out the product and make sure that it fits your needs.
Home / Documentation / General